Showing posts with label DIY. Show all posts

Monday, June 10, 2013

Home Improv-isation: Part 2


About a month ago, I spilled the beans about how skilled I am at sewing fond I am of using tape for DIY projects. If you also lack sewing skills, you'll likely appreciate the following two improv-isation projects.

I'd been wanting to add a table and some artwork to our foyer for a while, but just hadn't found the right pieces. As luck would have it, within one week I was able to find and create everything I needed!

Exhibit C - Foyer Table Drape Cloth

Living around the corner from a Goodwill definitely has its advantages!
I recently found the perfect sized table to put in our foyer. The only problem is that it was begging to be covered, since I bought it secondhand and has some wear and tear (but I can't resist a bargain!). After I bought a burlap-style tablecloth to conceal the table, I decided it needed a little color. Then I remembered that I still had some fabric leftover from our family room curtains. So, I cut a piece to size and then attempted to seal the edges together using fusible webbing.

Well, I clearly either 1) didn't read the instructions on the box correctly (who has time for that)? or 2) bought the wrong kind of fusible webbing because I absolutely could not get the stuff to work. Rather than head back to the store to try and find the right kind, I decided to instead turn to a trusty friend.

No, not duck tape. Good 'ol industrial-strength glue. May I introduce you to E-6000.


This.stuff.rocks. You can use it for all kinds of projects, including on fabric. All I had to do was iron the edges of the fabric over to create a clean edge, and then glue the "hem" that I'd just created. Not even 15 minutes later, I had my drape. 

It's good thing I didn't mess this project up, because I only have a little bit of this fabric left.
Could I have used duck tape to hold this together? Sure. But I had another project where I knew my trusty companion would be needed. 

Exhibit D - Burlap-covered Poster Frame

This poster, which is a compilation of Italian postcards, is an awesome daily reminder of our honeymoon in Italy.
I was at the Ballard Designs showroom last month when I found a pile of what the store was calling "book wraps." Well, to me these looked like reproductions of vintage posters. And there were only $6. SOLD!

They had a handful of different posters, and the images were either French or Italian. Since we spent our honeymoon in Italy, I grabbed the three that were Italian (a map of the whole country, a map of Rome and the one above) plus a map of the whole world. But then I needed to figure out a way to display the posters.

I knew I didn't want to go the traditional frame route, but I did give some thought to making some pallet wood display boards. After weighing my options, I decided to do something that didn't involve hammer and nails. (And splinters.)

All I needed to complete this project was foam core board, burlap, thumbtacks, picture hangers and - you guessed it - duck tape. I'm fairly certain you can figure out how to put it together, but just for fun, here's a picture of the back of it.

I should have invested in this stuff years ago. 
And, voila! We finally have some artwork for our foyer. The cool thing about these boards is that now I can easily swap out the posters should I find something else that we want to hang up. I'm already thinking about what I can create and hang up for holidays and special events.


Finishing this project and knowing that I could easily swap out the posters down the road inspired me to get cracking on another project that I've been procrastinating thinking about. Believe it or not, duck tape was not used at all. But it did involve spray paint ... can you guess which project I'm referring to?

Monday, May 6, 2013

Home Improv-isation: Part 1

It was a busy weekend 'round these here parts. That is to say I am super thankful that the nasty Atlanta weather pretty much let me clear my agenda to tackle a bunch of projects around the house. And I'm also thankful that my husband's semester is over, which means I was easily able to sweet-talk him into helping me finish said projects. (I'm also pretty sure that he doesn't trust me with his drill, so it really doesn't take much convincing.)

All of the projects that were completed this weekend have one major thing in common ...  I had to improvise. Thus, I bring you the latest installment of Life @ Laurel ... Home Improv-isation: Part 1.

Exhibit A - Dining Room Curtains

And the curtains were hung by my husband with care ... in hopes that soon enough I'd get out of his hair ...
I'd been poking around for a set of dining room curtains for a while now, and finally found some (and on sale!) at West Elm. When I placed my order I learned they were back ordered, but then they actually arrived a lot faster than West Elm promised -- which was great! So, Saturday morning I dug through the small pile curtain rods that came with us when we moved and found one long enough. Awesome.

But ... no mounting brackets to be found. Of course. I had to make a quick run to Target anyway (I mean, seriously, what trip to Target is ever quick?!), so I added mounting brackets to my list. And wouldn't you know it -- you can't just buy curtain rod mounting brackets -- you gotta buy the whole package. Well, I wasn't about to do that. So, I improvised.

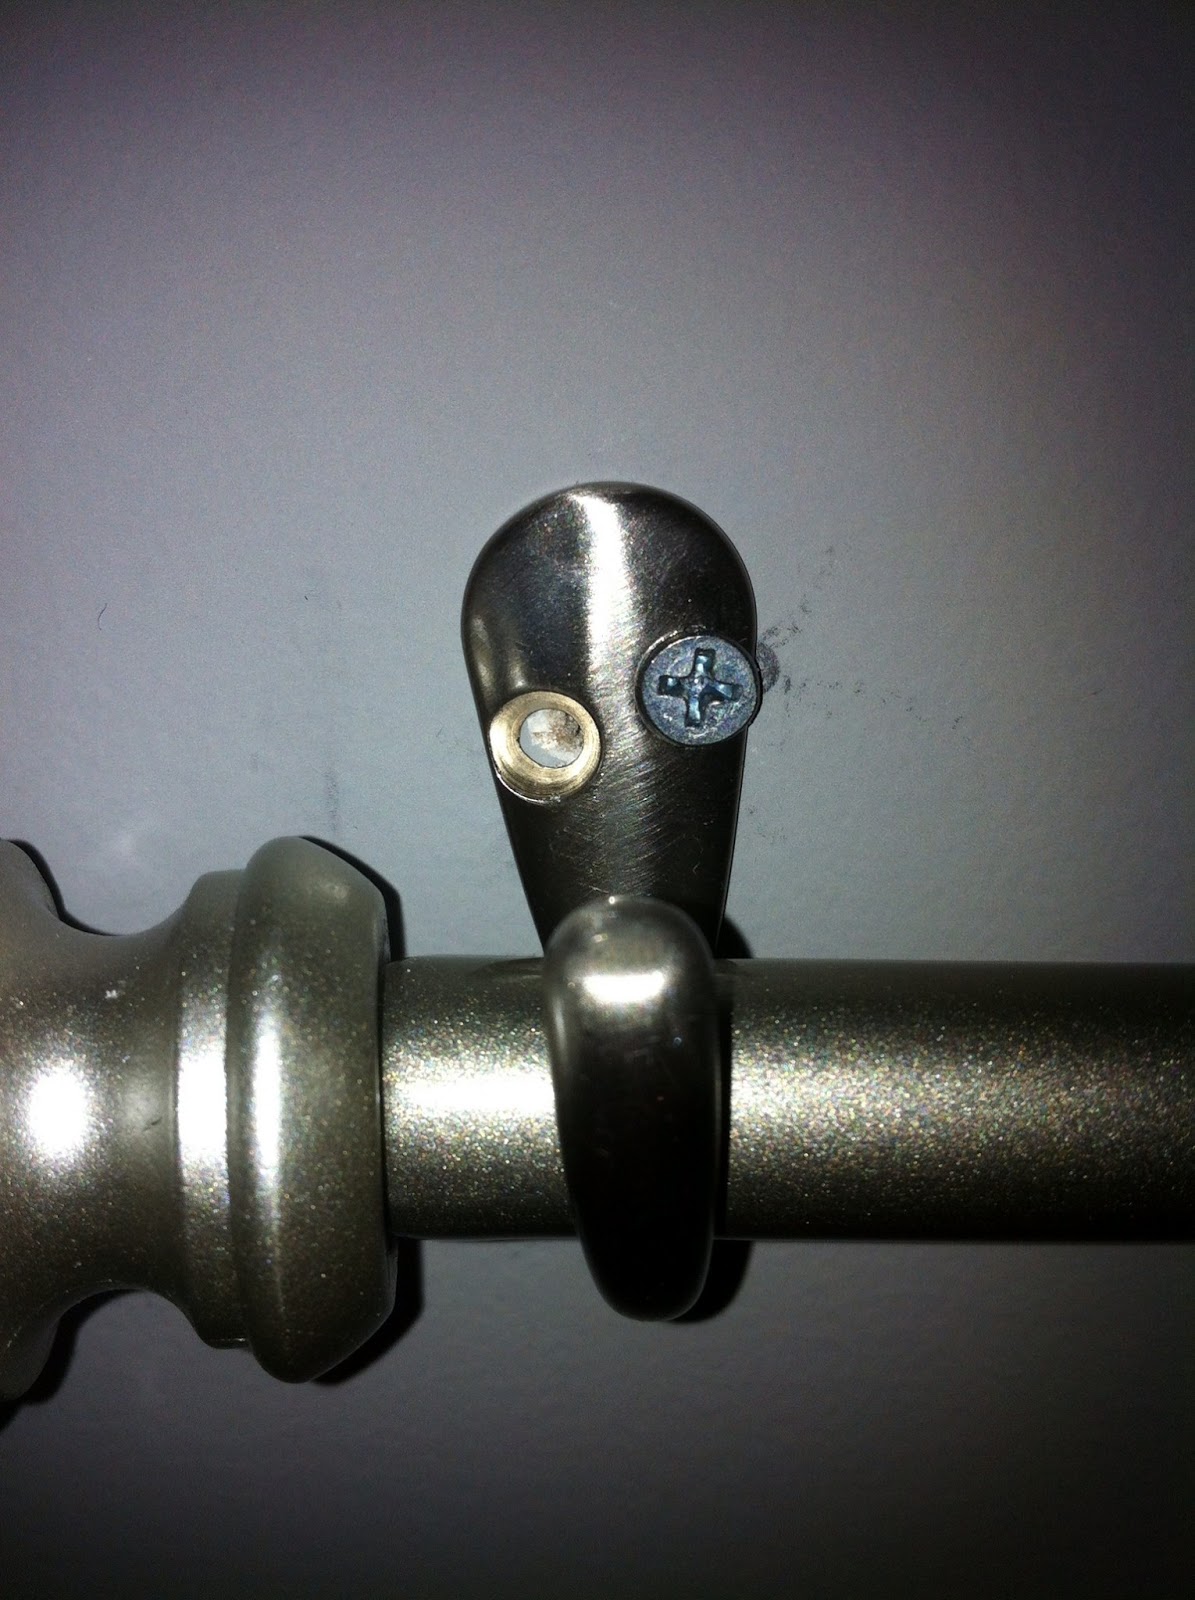
I'd already picked up two packs of hooks for our closets, and as I looked at the pile of goodies in my hands (Yes, hands. I no longer use a basket or cart at Target unless I have Sloan with me. Because if I just use my hands, I actually walk out only with what I intended to purchase.) I realized that these robe hooks would probably be the perfect size for this curtain rod. So I wandered back and grabbed two more packs.

I have a funny feeling that Julie Nobles is going to like these curtains! 
It wasn't until I took this close-up that I realized Matt decided that just one screw is all that was needed to hold this in place. Works for me!
Doesn't look too bad, huh? OK, maybe the close-up looks a little wonky. But, not too shabby for only $3.

Exhibit B: Breakfast Nook Curtains

I'm a big fan of discount retailers like Joss & Main, One Kings Lane and Zulily. When I was still super sleep deprived during Sloan's infancy, I had a VERY bad habit of shopping online in my sleep. Literally. I'd get up with her for the "zero dark thirty" feeding and pass time looking at stuff online. Then -- oops! I bought stuff. (Too much stuff.)


Like these curtains, for example! For our breakfast nook, I was thinking that a simple valance would do the trick. These are actually curtain panels that originally had little ties at the top for you to tie around the top of a curtain rod. I just cut the ties off, turned the panels horizontal and then folded them down to the right size, then sewed a pocket rod into the fabric to hold it all in place.


Wait ... did you think that I actually sewed these? Ha! No - I didn't sew anything. I grabbed the first roll of packing tape I found in the garage and taped these bad boys together.

Matt said I shouldn't expect this tape to hold for very long. Maybe I actually will be forced to try to sew them together at some point.
I love the color that this adds to our breakfast nook, and I don't think the tape is visible to the nekkid eye (unless you've read this blog, and then you're in on the secret!). So far, these have been holding up pretty well. However, I can't say the same thing about one of the other projects I "finished."

#diyfail
More to come about that soon -- as soon as I find my duck tape ...

Monday, April 1, 2013

Not-So-Foolish 40

It's April Fools' Day! Oh wait, you already knew that. And no, I don't have some fantastic prank to share. (I did consider hiding all of the TV remotes and iPad from Matt but didn't get around to doing it before leaving for work, so I'll just save that for next year. Shhh - don't tell him!)

But as I was reflecting on the fact that it was 1) April 1st and 2) the end of Lent, I realized that it had been close to 40 days since I'd written a blog post. Not exactly a great track record for someone whose 2013 resolution was - and I quote - "to be waaay better about blogging in 2013." Whoops.

So, I've decided to challenge myself a little this week. I'm talking multiple blog posts - all in an effort to reflect on 40 things I'd be foolish not to be thankful for. Some are a little silly, some maybe a little sarcastic but I swear some of it is serious. Without further ado, here's my Not-So-Foolish 40:

40. Faith -- We all go through trying times, and I'm sincerely thankful for my relationship with Him. I've been able to trust that He has a plan for me, even if the details get blurry at times.

39. Baseball season! -- It's opening day, my friends. One of my favorite days of the year. As I write this, the Braves just clinched their first win of the season. #undefeated #sofarsogood 
Opening Day 2009. Also known as the day it "tornado-caned" at Turner Field. After almost a three-hour rain/hail/wind/tornado watch delay, The Ted almost ran out of beer. 
38. Wireless Internet -- I tried to explain dial-up Internet to my younger cousins a few years ago. I imitated the whole pattern of sounds that our computer used to make when you were logging on. I'm pretty sure they hadn't ever heard anything like the noises that came out of my mouth.

37. Spray paint -- I love spray paint. It's a cheap, essential tool for any DIYer. And you know you have an addiction when you have a list of spray paint projects saved on your phone. #dork
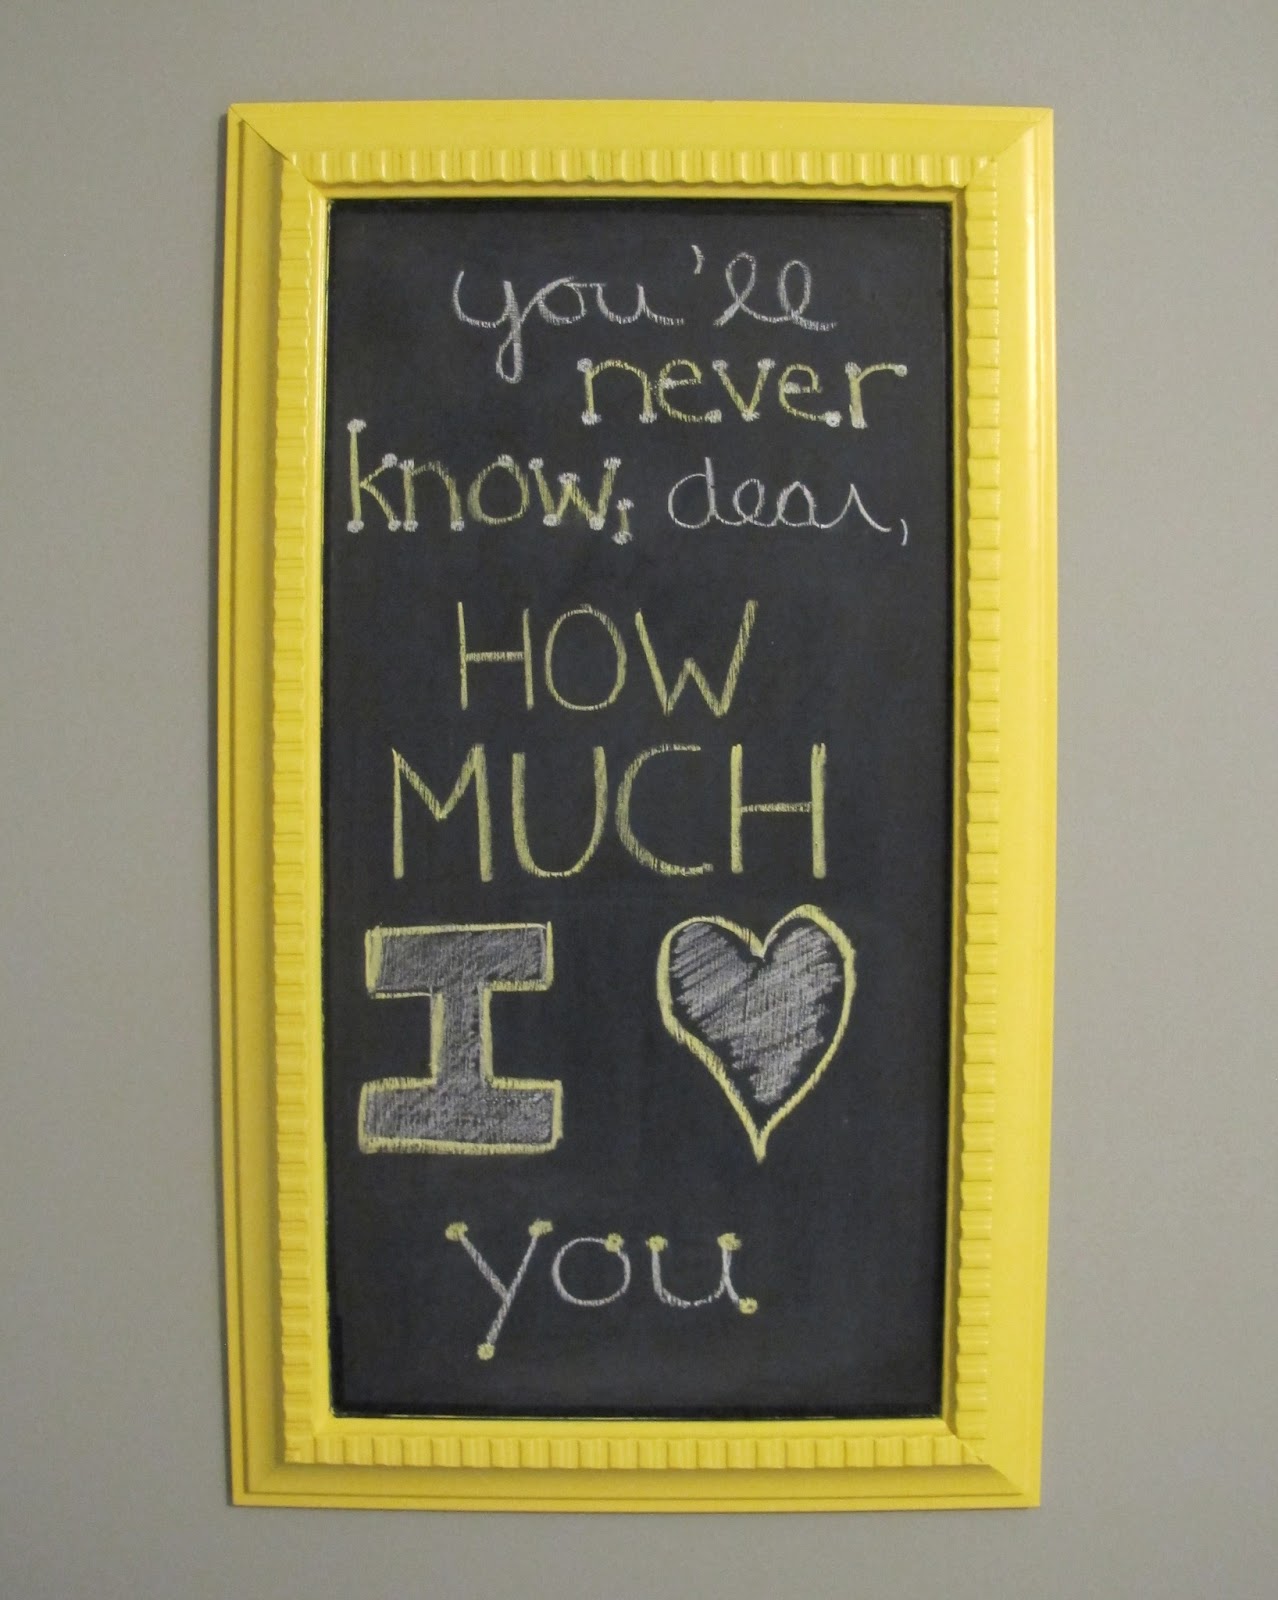
Yep. I'm going to make yet another chalkboard. I have a problem, don't you think?
36. DVR -- This technological innovation has changed the way I watch TV. Unless it's sports or my Saturday morning Food Network fix, I hardly ever watch a TV show live.

35. Coffee -- It wasn't until I was laid off from my first big girl job that I realized that I was an addict. No more free coffee every day?! #@$&%!

34. Hashtags -- #seriously #noseriously #imnotkidding #idtypelikethisalldaylongifitwasprofessionallyacceptable

#moretocometomorrow #nightnight!

Sunday, February 17, 2013

It's A ...

"It's a boy!" my husband cried out. It was August 12, 2012, at 10:18 a.m. After 36 looong hours of labor, our "little t" had finally arrived. But wait just.one.second. What did the doctor say?! "Look again, Mr. Taylor." Oh.Em.Gee. IT'S A GIRL! A tiny, perfect (screaming) ball of pink joy! Oh boy -- were.we.surprised.
About 24 hours old, holding a rose from her Uncle Joey. And even smiling!
When we found out we were pregnant, Matt and I decided that we weren't going to find out the baby's gender. Yeah, kinda old school of us, but it made the moment she was born that much more amazing and unforgettable. (I personally can't think of a better surprise in life.)

Both Matt and I were convinced we were having a little dude. On paper, my pregnancy screamed boy. No morning sickness. Not too many crazy mood swings (until month 8, and then I certainly made up for lost time). My complexion even cleared up. And (almost) everyone said I looked like I was carrying a boy.
26 weeks preggo. Probably on my way to get some ice cream.
Deciding not to learn little t's gender absolutely had its pros and cons. One major pro -- it kept my shopaholic self in check. One major con -- not being able to complete the nursery in advance. But I had some ideas in mind for both a girl's and a boy's room. I actually had pretty much the entire girl's room completed in my mind. So after Sloan entered our lives, it was just too easy to choose a theme -- "You are my sunshine." Because she is. Duh.

If you've seen the monthly pictures that I take of Sloan, you know that I have a slight obsession with chalkboard paint. So I'm sure it will come as no surprise when I tell you that I made four chalkboards for her room.


I haven't done it yet, but eventually I'm going to change these to say things like: "Let the sun shine" -- "Here comes the sun" -- "Black hole sun" (kidding)
I also converted an old painting into what I call her "name frame." Pretty easy and cheap to make, too:

  1. Get a big 'ol framed picture from Goodwill, a yard sale, etc.
  2. Deconstruct it
  3. Spray paint the frame yella
  4. Wrap the original glass and picture insert with fabric (held in place with spray adhesive, of course)
  5. Place the big fabric piece back into the frame (sealing the edges with duct tape, just for fun)
  6. Spray paint wooden letters yella
  7. Add white polka dots to the letters
  8. Use craft glue to glue the letters to the fabric-covered insert
  9. Done! 

(And as easy as this was, it took me about two weeks to complete. Maybe longer. More about this issue here.)
Love this bookshelf! This -- along with a mountain of books -- was a gift from Grandma and Grandpa Taylor. It's from one of my absolute favorite stores here in Atlanta -- Nadeau. If you haven't checked it out yet, GO.
I keep saying that one of these days I'm going to learn how to sew. But, until then I'm just going to be extremely thankful that my mom knows how. She made curtains and a canopy for Sloan's room, and I'm thrilled with the way it all turned out -- thanks, Mom!
Crib skirt, sheet and pillow were made at Precious Cargo. For those of you reading in the metro Atlanta area, I highly recommend stopping by there if you ever need a baby gift!
I also had a changing pad cover made in the same fabric as the crib sheet and pillow, but it happens to be in the dryer right now. Minor accident this morning, but thrilled to report that it washes up great!
Another really easy (and ridiculously cheap) project for Sloan's room was her mobile. It's definitely not a traditional mobile -- because it doesn't really move. But these tissue pom-poms are so light that they do bump around into each other when the ceiling fan is on. And they actually do grab Sloan's attention, which is great when it's time to lay her down for a nap. I can give them a little push and she will stare up at them as I quickly exit stage left.
The day I hung these up, Matt not only 1) noticed them, but 2) said he liked them. He even asked where I bought them! Imagine his surprise when I told him they were practically gratis. 
I also have to thank the talented Whitney Lee for making this birth announcement! I hadn't even considered making anything like this (not even with a chalkboard, if you can believe it), and was thrilled when Whitney offered -- it turned out awesome! I even had the perfect place to put it, since I didn't yet have anything to put on this shelf. Well, I suppose I could have put more bows and hats there. But, um, I think we have enough for now, don't you?

So even though I thought we were having a little boy, I'm pretty ecstatic that little t turned out to be a she. And I think her dad is, too. 

Sunday, February 10, 2013

Looking for Some Pin-spiration?

"Genius is one part inspiration and ninety-nine percent perspiration."
-- Thomas Edison (1903)

When Mr. Edison coined the phrase above, do you think he knew that one day there would be this incredible social network that allowed you to collect ideas for recipes, projects, outfits, parties, trips, etc.? Probably not. But to his point, I'm sure that the idea for Pinterest came very easily, and seeing the idea come to fruition took much, much longer. And in a way, I can relate.

I have spent hours days (Weeks? Ugh. I don't even want to know exactly how long.) just pinning away -- electronically filing hundreds of great ideas that I am for sure going to to use one day. Right? Ha! I'm willing to bet that for every pin I've actually revisited, there are about 50 that I haven't even looked at again. Especially the ones that say "Pin now, read later!" Y'all know what I'm talking about, right?

"Pinterest is one part perspiration and ninety-nine percent pin-spiration. Or something like that."
-- Lauren Taylor (2013)

OK, I recognize that Pinterest is an amazing resource; it has motivated me to actually throw away recycle the piles of magazines that I used to keep around. (Because, you know, one day I'm really going to need that step-by-step recipe for Baked Alaska. And a blow torch and safety goggles to create the perfect meringue.) So when I actually finished not one, but two Pinterest projects in one day, I was pretty stoked. Now, the key word in that sentence is finished, because each one of them took me weeks, if not months, to complete. Not because the steps were complicated or the materials hard to find. Nope. In my case, it's because I'll have about five different projects going at one time and I don't have all of the materials on hand. Or the right sizes. More about that below.

Exhibit A: Old Coffee Table -- New Bedside Bench

I originally bought this coffee table in graduate school and have hauled it around with me for about 10 years. Not bad for a piece from Target. But, it got to the point where no amount of brown Sharpie was going to restore it to its original glory. So, thanks to Pinterest I realized how easy it would be to convert it into a bedside bench. Here's how this went down:
  1. Choose your fabric.
  2. Order your fabric.
  3. Freak out and wonder if you measured right and ordered enough fabric. (You did. Phew.)
  4. Wait for fabric to arrive.
  5. Search for Hobby Lobby coupons.
  6. Make the drive to Hobby Lobby to get the rest of your materials. (Adhesive spray, 2-1/2 inch thick foam, batting, ribbon, hot glue gun and sticks.)
  7. Get everything home and hope your husband still has a staple gun and staples. (He did. Double phew.)
  8. Put all craft materials into a closet in the basement and forget that everything is there until you're looking for something else.
  9. Pull everything out Superbowl weekend and make a mess all over the basement trying to finish it before family comes over to watch the game.
  10. Finish the ottoman, then force your Superbowl guests to help you carry it upstairs. (What a nice hostess I am, huh?)
Ta-da! Four months later, I can check this off the list.
Exhibit B: Under-cabinet Necklace Storage

After we moved to Laurel Drive -- and after I finally found some time to get our bathroom and closet situated -- I realized that with a little more reorganizing I would have a whole cabinet that I could dedicate to jewelry storage. Score. I just needed to figure out how to maximize the space. Enter Pinterest. I realized that with some tension rods, curtain hooks and "s" hooks I would be able to hang my necklaces rather easily and avoid spending time yanking them apart when I'm trying to get out the door for work at 7:15 in the morning. So, all I had to do was to make a quick trip to Target to get what I needed. Easy, right? Wrong. 

I think from the picture  below you can figure out how to recreate something like this, so let me just tell you what not to do:
  • Don't buy the wrong size tension rods. They need to be slightly longer -- not shorter -- than the width of the cabinet. Duh.
  • Don't expect Target to have "s" hooks.
  • Don't expect the local in-town hardware store to be open when you need them to be.
  • Don't forget for three weeks that you still need the "s" hooks to finish this very easy, simple project.
  • Don't buy the wrong size "s" hooks when you finally do remember to stop by the hardware store.
Let's see how long this stays all nice and neat!
As long as you don't do what I did, you'll have a much easier time recreating these Pinterest projects. Two pins down, 1,017 to go!