
All of the projects that were completed this weekend have one major thing in common ... I had to improvise. Thus, I bring you the latest installment of Life @ Laurel ... Home Improv-isation: Part 1.
Exhibit A - Dining Room Curtains
.JPG) |
| And the curtains were hung by my husband with care ... in hopes that soon enough I'd get out of his hair ... |
But ... no mounting brackets to be found. Of course. I had to make a quick run to Target anyway (I mean, seriously, what trip to Target is ever quick?!), so I added mounting brackets to my list. And wouldn't you know it -- you can't just buy curtain rod mounting brackets -- you gotta buy the whole package. Well, I wasn't about to do that. So, I improvised.
I'd already picked up two packs of hooks for our closets, and as I looked at the pile of goodies in my hands (Yes, hands. I no longer use a basket or cart at Target unless I have Sloan with me. Because if I just use my hands, I actually walk out only with what I intended to purchase.) I realized that these robe hooks would probably be the perfect size for this curtain rod. So I wandered back and grabbed two more packs.
 |
| I have a funny feeling that Julie Nobles is going to like these curtains! |
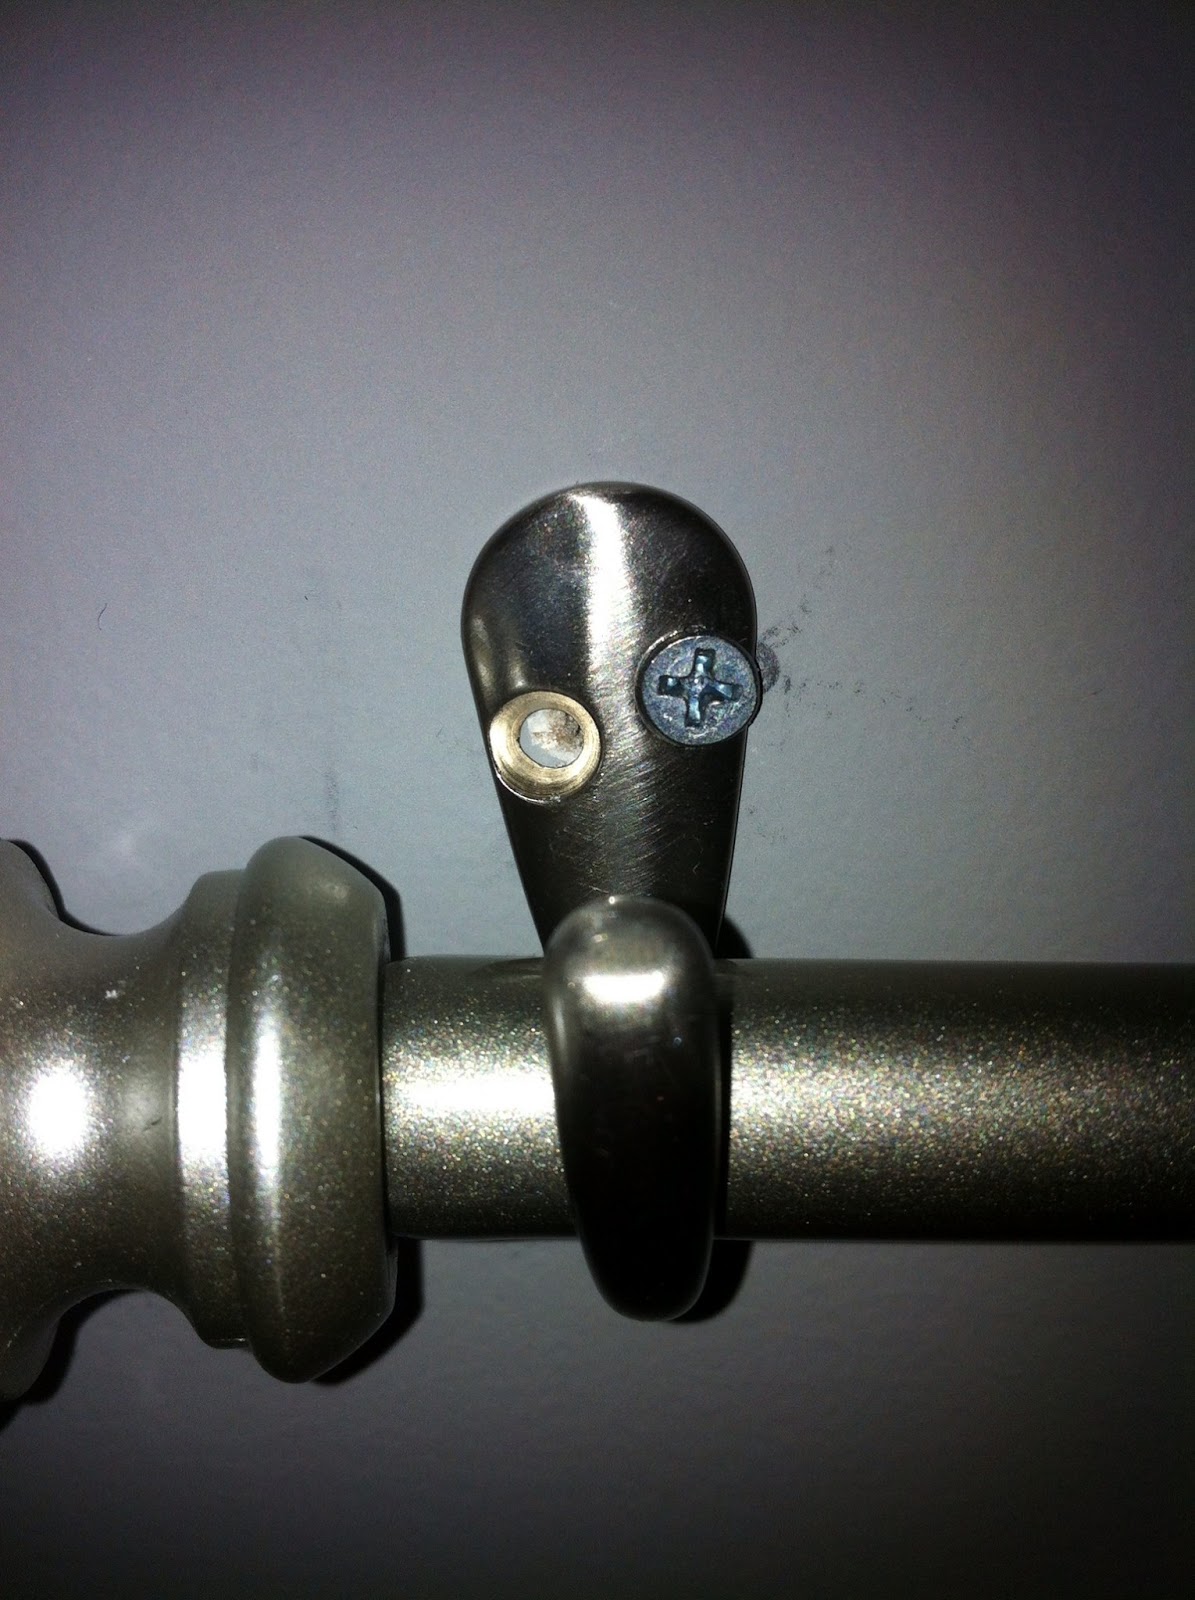 |
| It wasn't until I took this close-up that I realized Matt decided that just one screw is all that was needed to hold this in place. Works for me! |
Exhibit B: Breakfast Nook Curtains

Like these curtains, for example! For our breakfast nook, I was thinking that a simple valance would do the trick. These are actually curtain panels that originally had little ties at the top for you to tie around the top of a curtain rod. I just cut the ties off, turned the panels horizontal and then folded them down to the right size, then sewed a pocket rod into the fabric to hold it all in place.

Wait ... did you think that I actually sewed these? Ha! No - I didn't sew anything. I grabbed the first roll of packing tape I found in the garage and taped these bad boys together.
 |
| Matt said I shouldn't expect this tape to hold for very long. Maybe I actually will be forced to try to sew them together at some point. |
.JPG) |
| #diyfail |